
Killer Home Espresso
Posted by Fergus on 3rd Mar 2020
Get your home ‘spro tasting ace.
You have a nice shiny home espresso machine and your favourite beans, yet you can’t seem to get your home espresso to taste like your favourite cafe. Whilst it may be almost impossible to replicate the results of a commercial set up at home you can improve your espresso drastically with just a few simple tips. Let’s go through them and see if we can get you all pulling glorious god shots by the end of this post!
Know what sort of coffee you like.
This may seem obvious but it helps to have an idea of the sort of flavour profile and strength you are after and then buy your beans appropriately. For instance, if you like bright, fruity, clean espresso then a single origin is probably your best bet rather than say our Organic Blend which is punchy and has more chocolate and nougat notes and lower acidity. Likewise, if you are a flat white or latte drinker you will likely want to choose something a bit more robust or complex for it to compliment the milk, something like our Thunderbird or Firebird blends are a great option. The point is to know your tastes and preferences and choose your beans accordingly.
Grind on demand, no excuses.
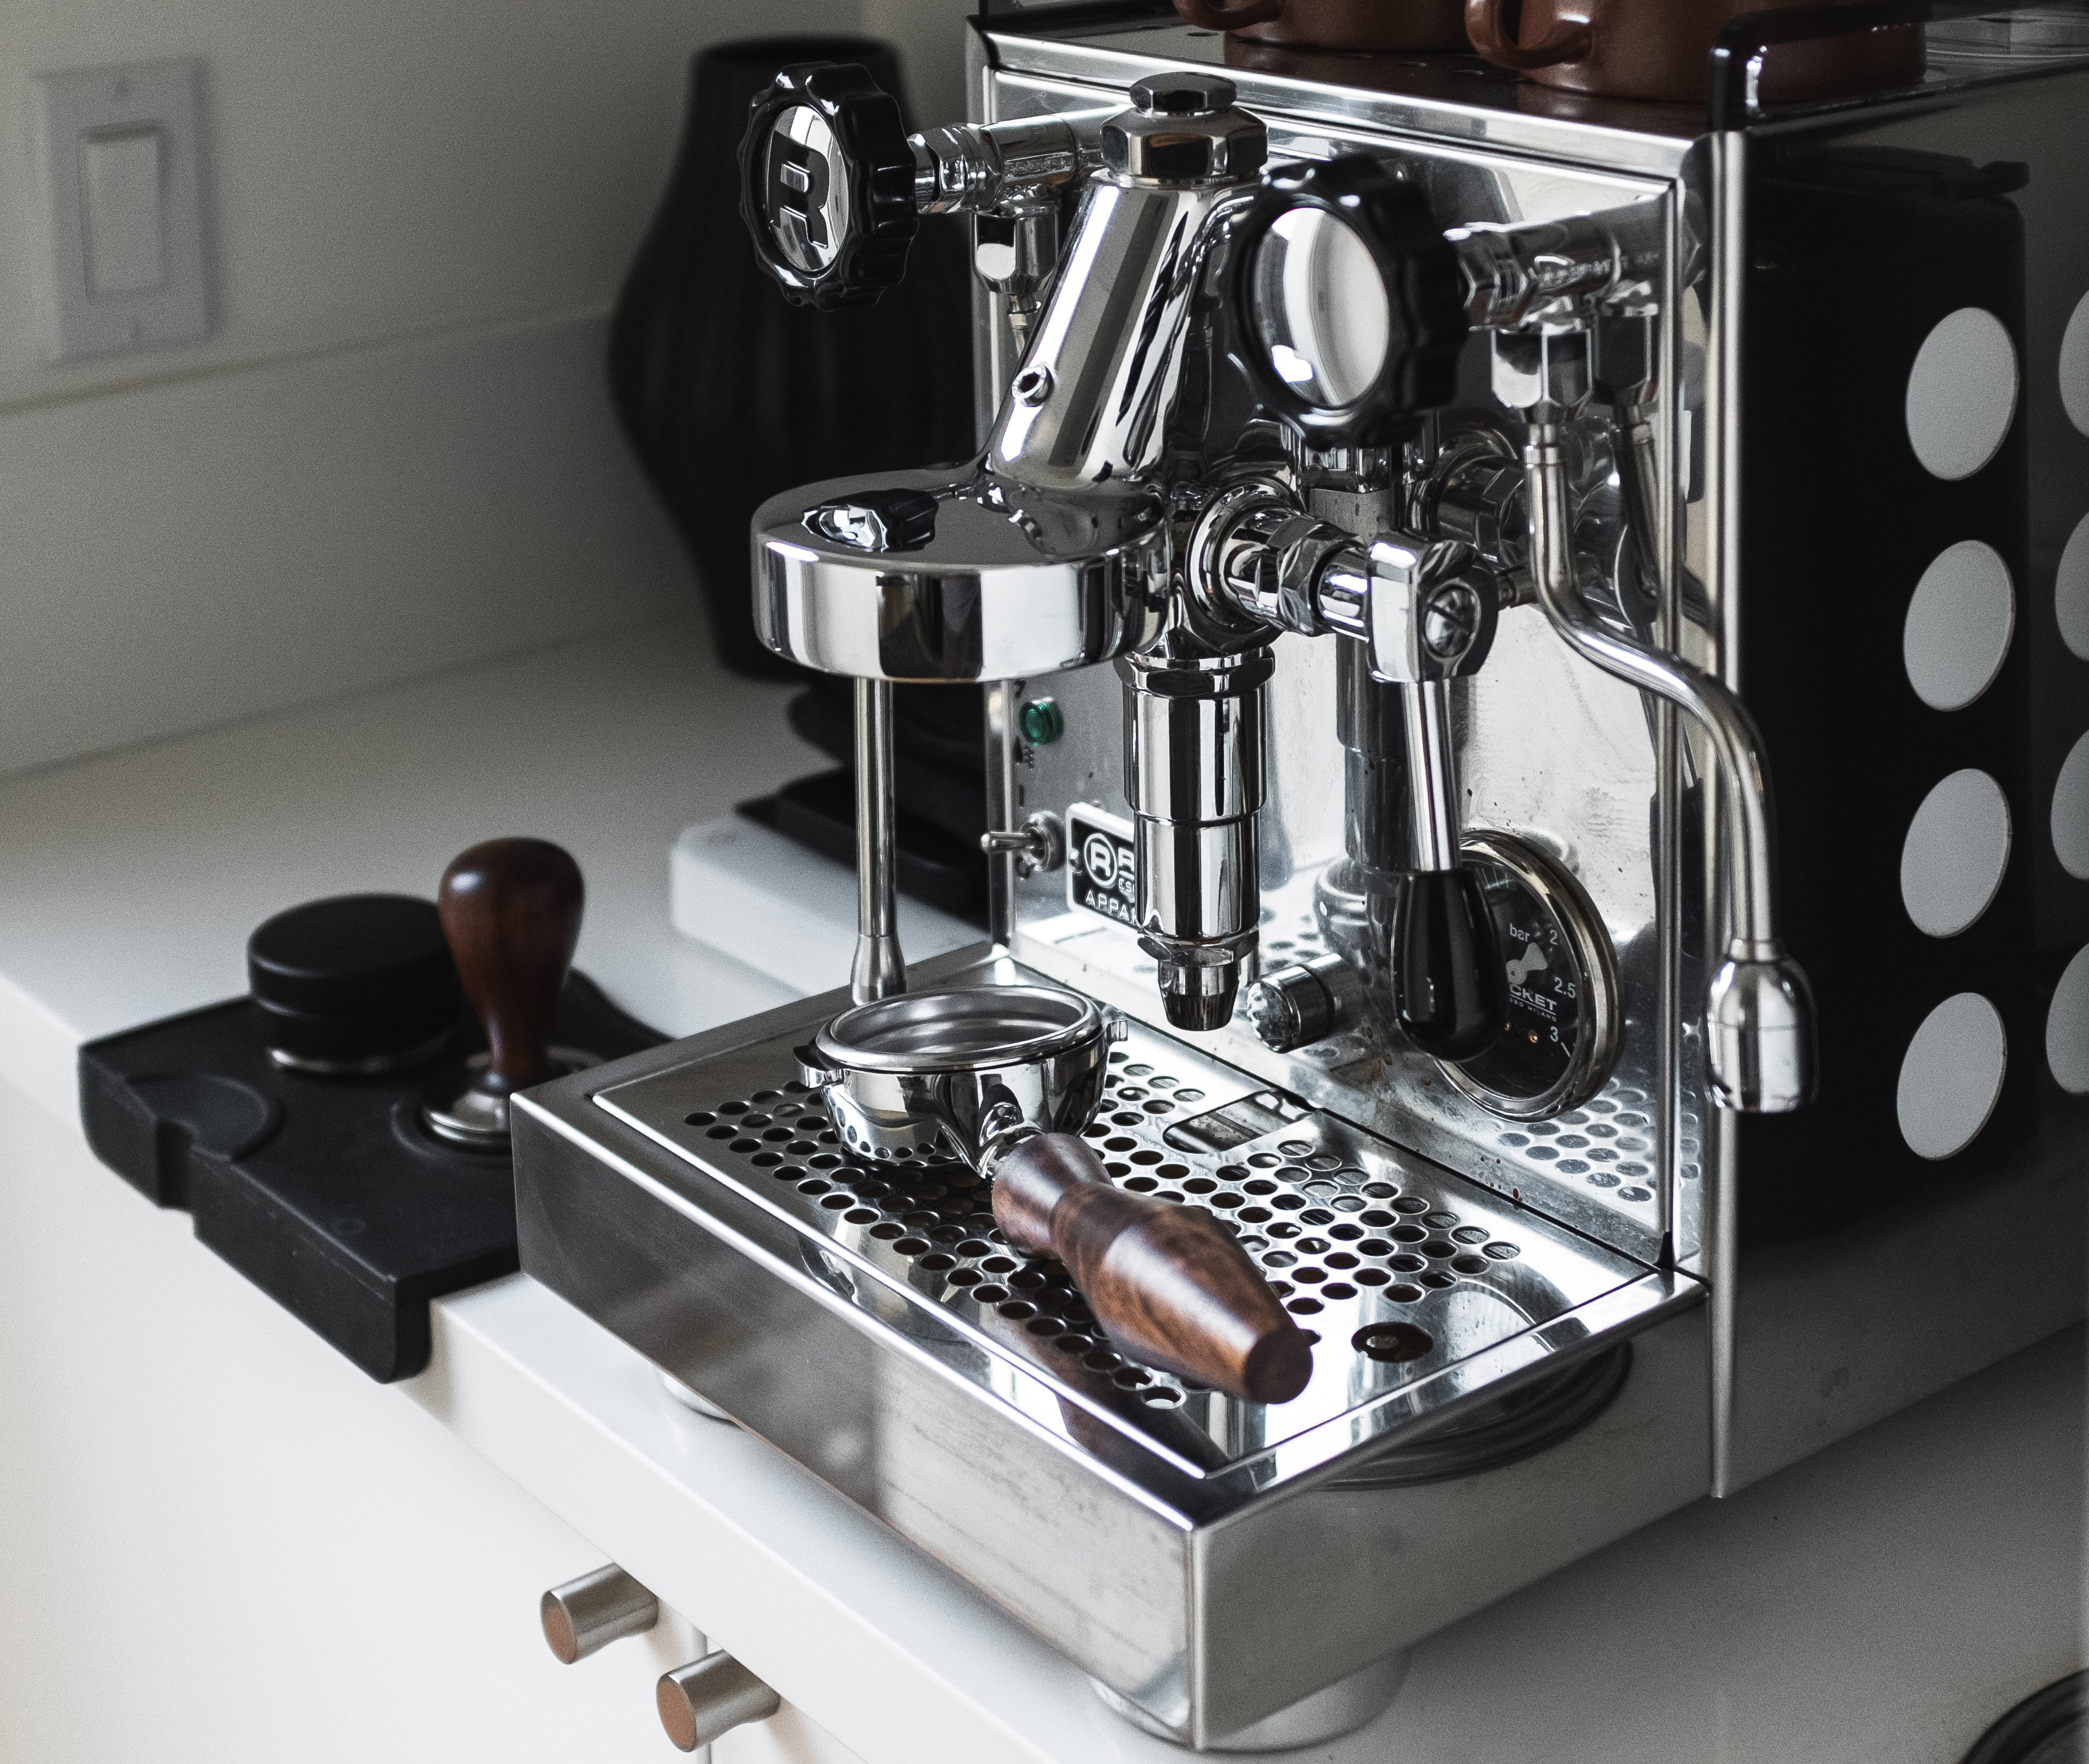
The single biggest thing you can do right now to up your home ‘spro game is to buy a good quality electric burr grinder. You can have the fanciest most expensive coffee machine in your kitchen, and buy the most exotic beans but if you are not grinding on demand then you are never going to reach the full potential of your set up. When you grind coffee you are increasing the surface area of the bean exponentially, this allows the Co2 stored in the bean to release much faster than when the bean was whole, which is basically another way of saying the coffee is getting stale real quick! Whilst most roasters recommend ageing espresso for 7-12 days post-roast to let the coffee degas there is a point where it will start to lose vibrancy and complexity and when you pregrind you are accelerating that process.
Another reason to grind on demand is that it allows you to make adjustments to your grind setting to optimise your espresso’s flavour, the more control you have over your grind size the better.
There are many grinders out there for the home user, and we don’t want this post to be a gear review so here are some tips for choosing a good home grinder:
- Do not buy a blade ‘grinder’. I repeat do not buy a blade grinder!
- Invest in a burr grinder, preferably one that is easy to clean.
- Make sure the grinder you are buying is designed for espresso. Espresso is a very fine grind and not all home grinders are made for that purpose in mind, so do a bit of research before you commit to one.
- Invest in quality and it will reward you through better tasting espresso and longer lasting burr life.
- There are some fantastic hand grinders on the market but if you value your time then electric is much faster and that is a good thing in the morning!
Weigh your dose.
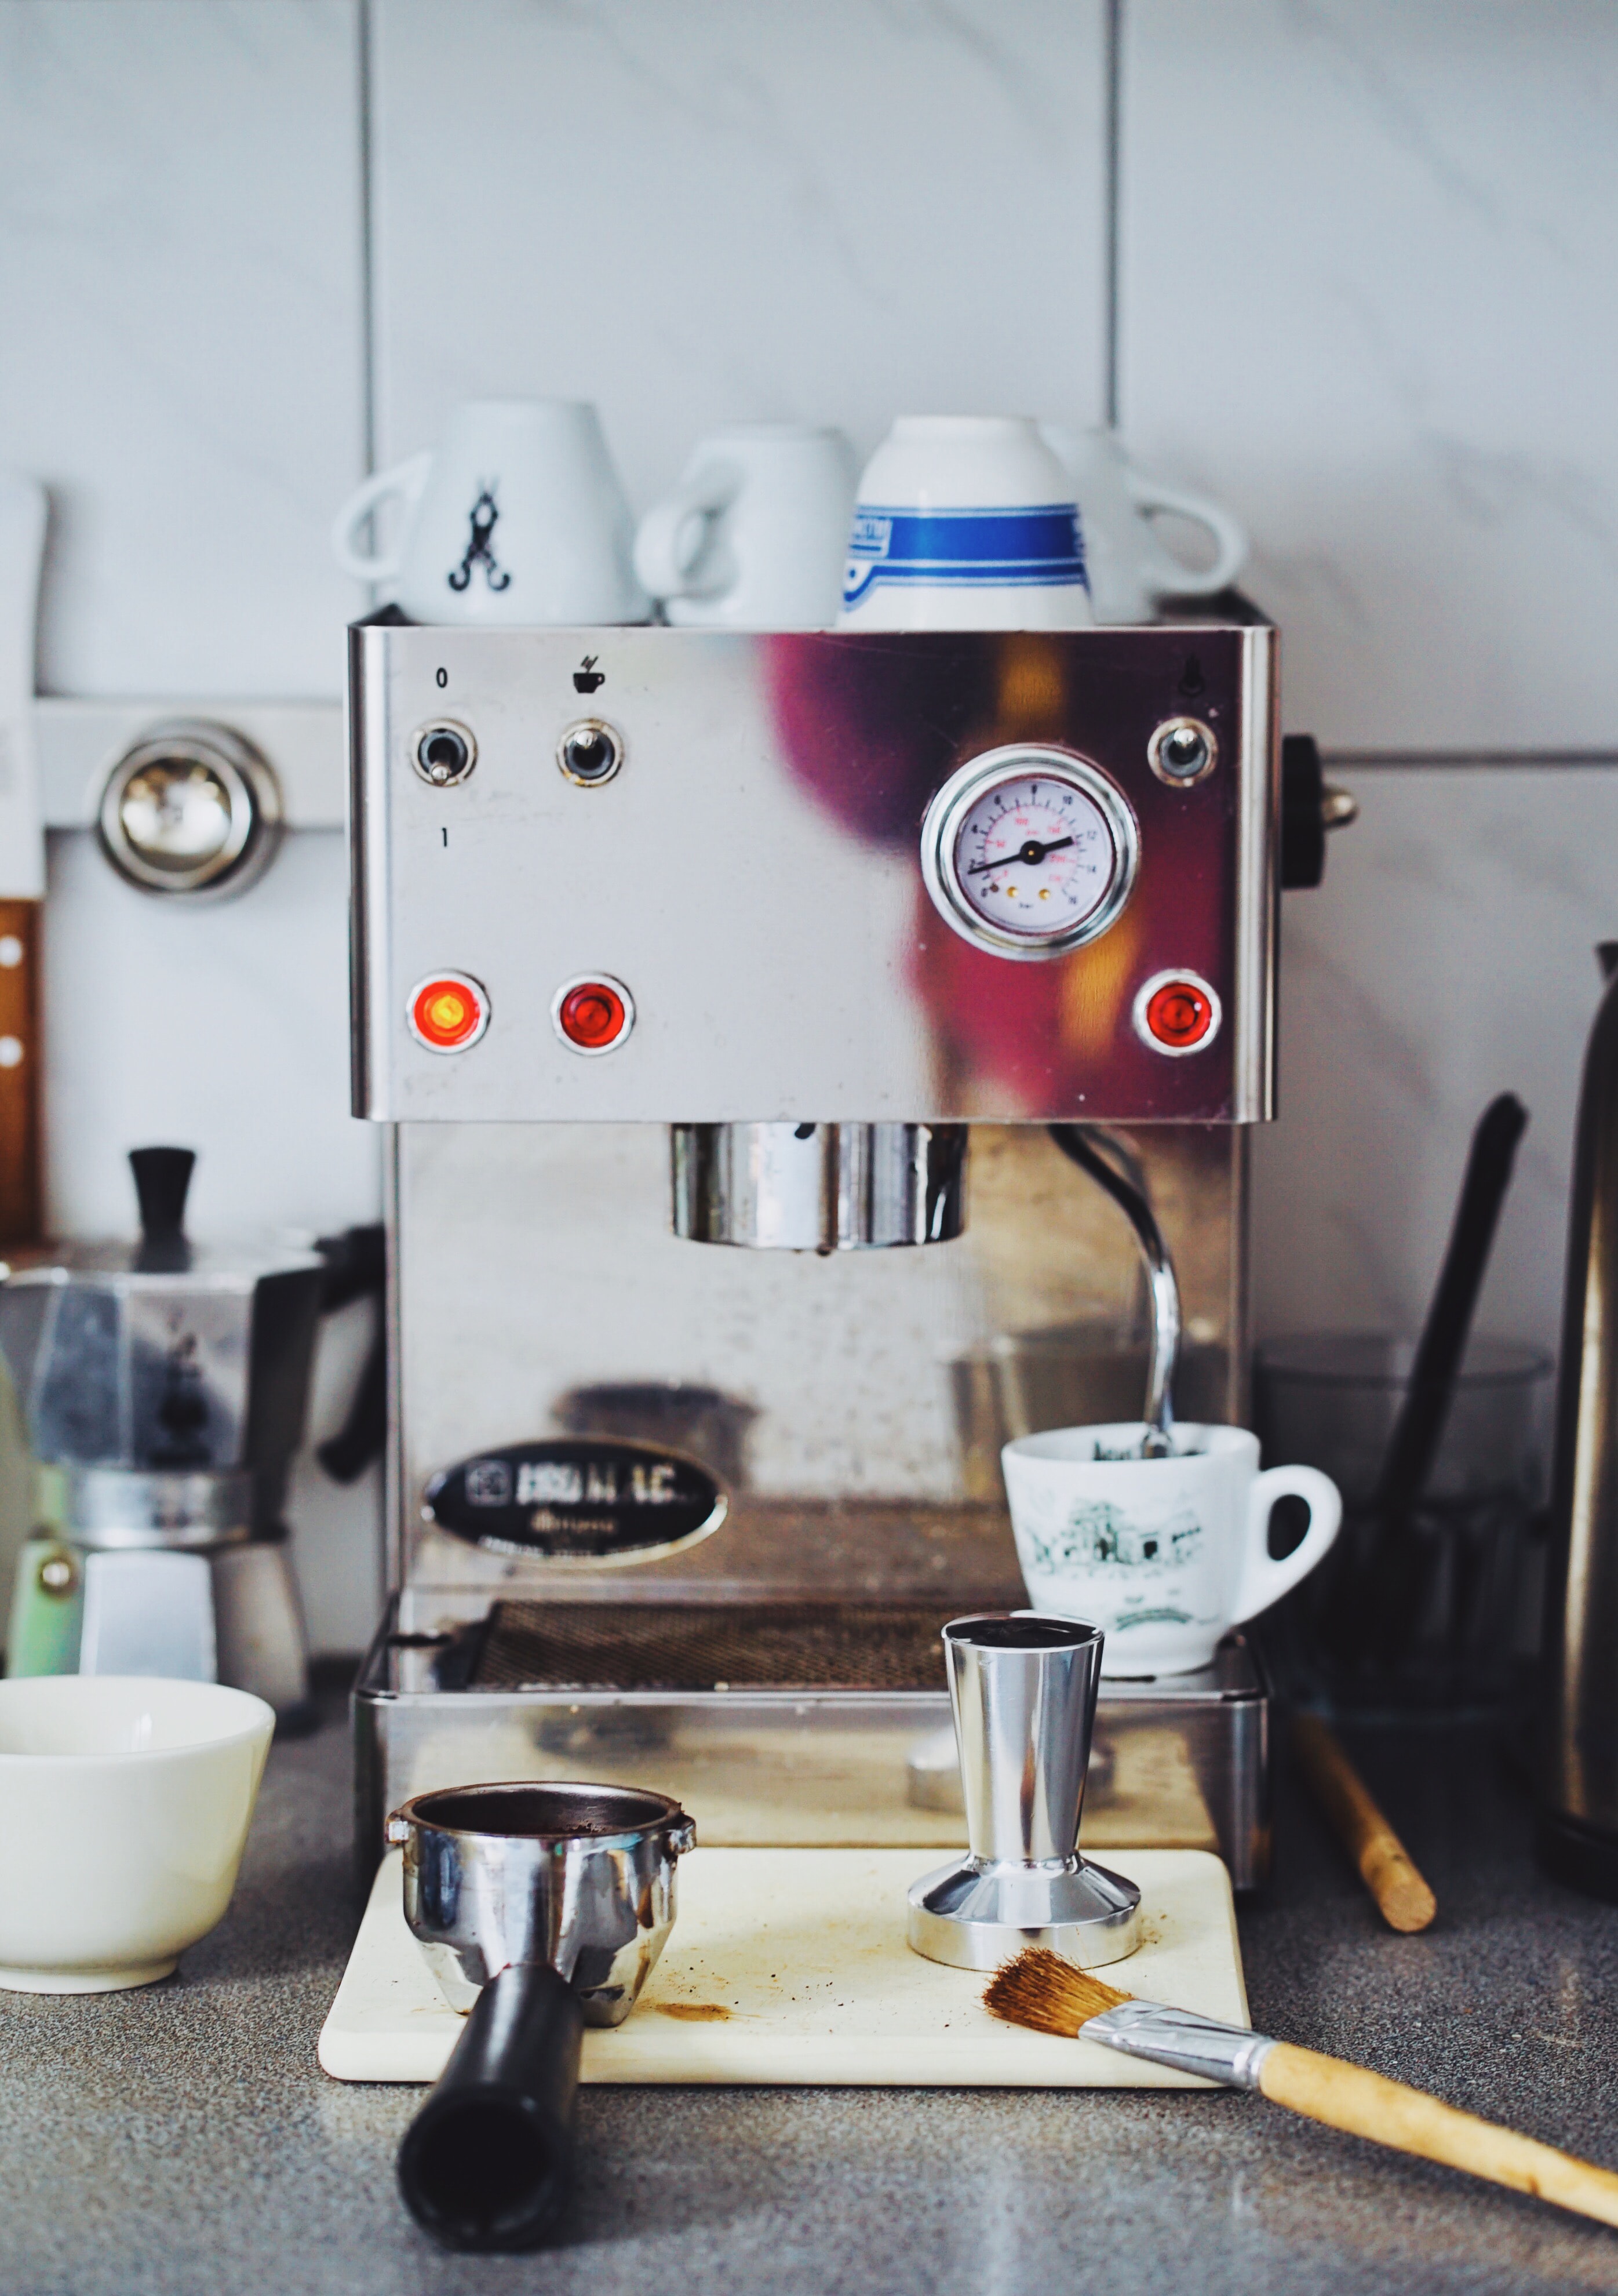
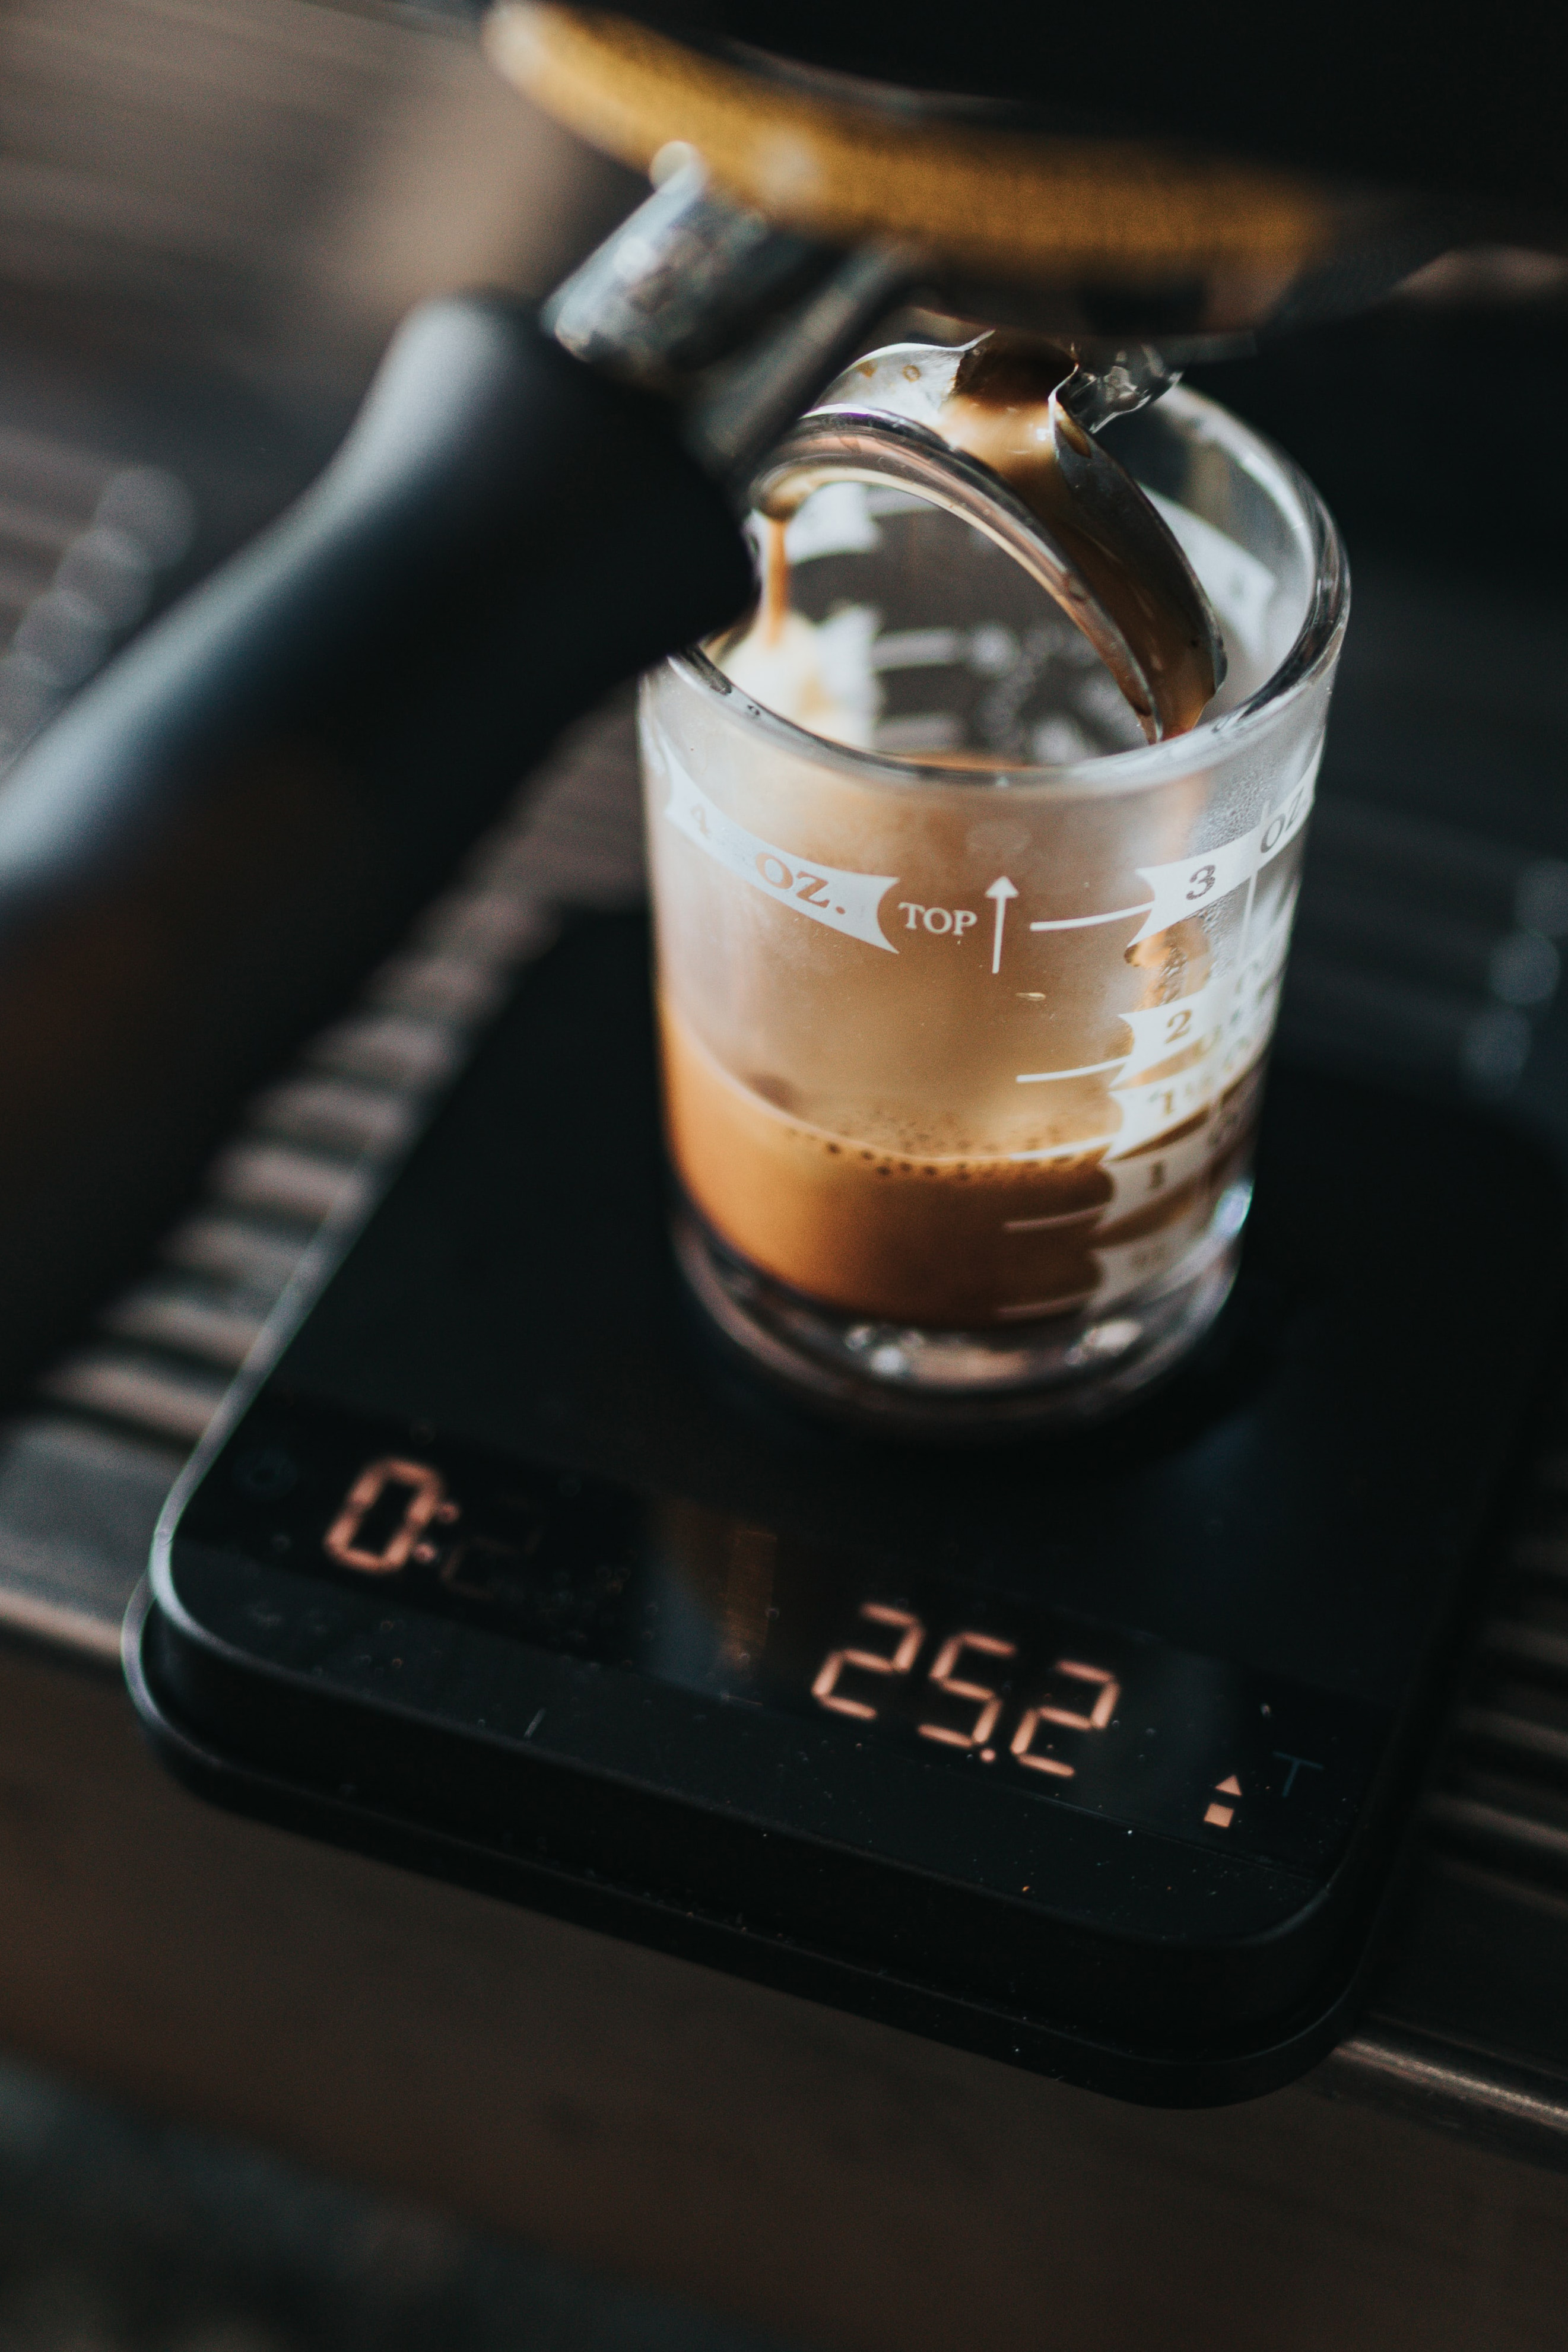
Your dose is how much coffee you put in your portafilter (the handle with the basket that the coffee goes in). Weighing your dose requires a set of scales but it is absolutely worth it if you want any sort of repeatability. By weighing you remove a variable, helping you to identify what to do if your shot is tasting weird.
Get to know your equipment, how big is your basket? How much coffee does it hold? How much coffee does the machine manufacturer recommend using? At Marvell Street we use 20g VST baskets and a universal 20g dose, if your home machine can use a 20g basket then VST is the way to go. No worries if it can’t, the most important thing is you find out your optimal dose for your set up and then weigh it each time you brew.
Distributing and tamping.
When we talk about distribution we are talking about how we get the ground coffee into the basket, the more even it is the better the distribution. If we have grinds piled up to one side and then tamp the density on that side of the puck will be greater, causing the water to flow unevenly through the coffee creating unpleasant flavours. The easiest way to distribute the coffee in your basket is to give it a couple of gentle taps with the palm of your hand. You want the coffee to look level and even across the basket before you tamp it down.

Tamping is the act of pressing coffee down into the basket using a tamper, it really is that simple yet there are a couple of things you want to do to make sure you get good results. Firstly you don’t need to force the tamp through your kitchen bench, just apply consistent firm pressure, you want the top of the coffee puck to feel firm under your thumb. When you apply pressure don’t favour one side or the other, try to make it as flat and level as possible so the water will pass through it evenly.
Once you have tamped be gentle when inserting the portafilter into the machine, don’t bang the basket, or tap it again with the tamper, this can cause the puck to crack or weaken creating a channel that water will flow through and create nasty flavours.
Watch the signs.
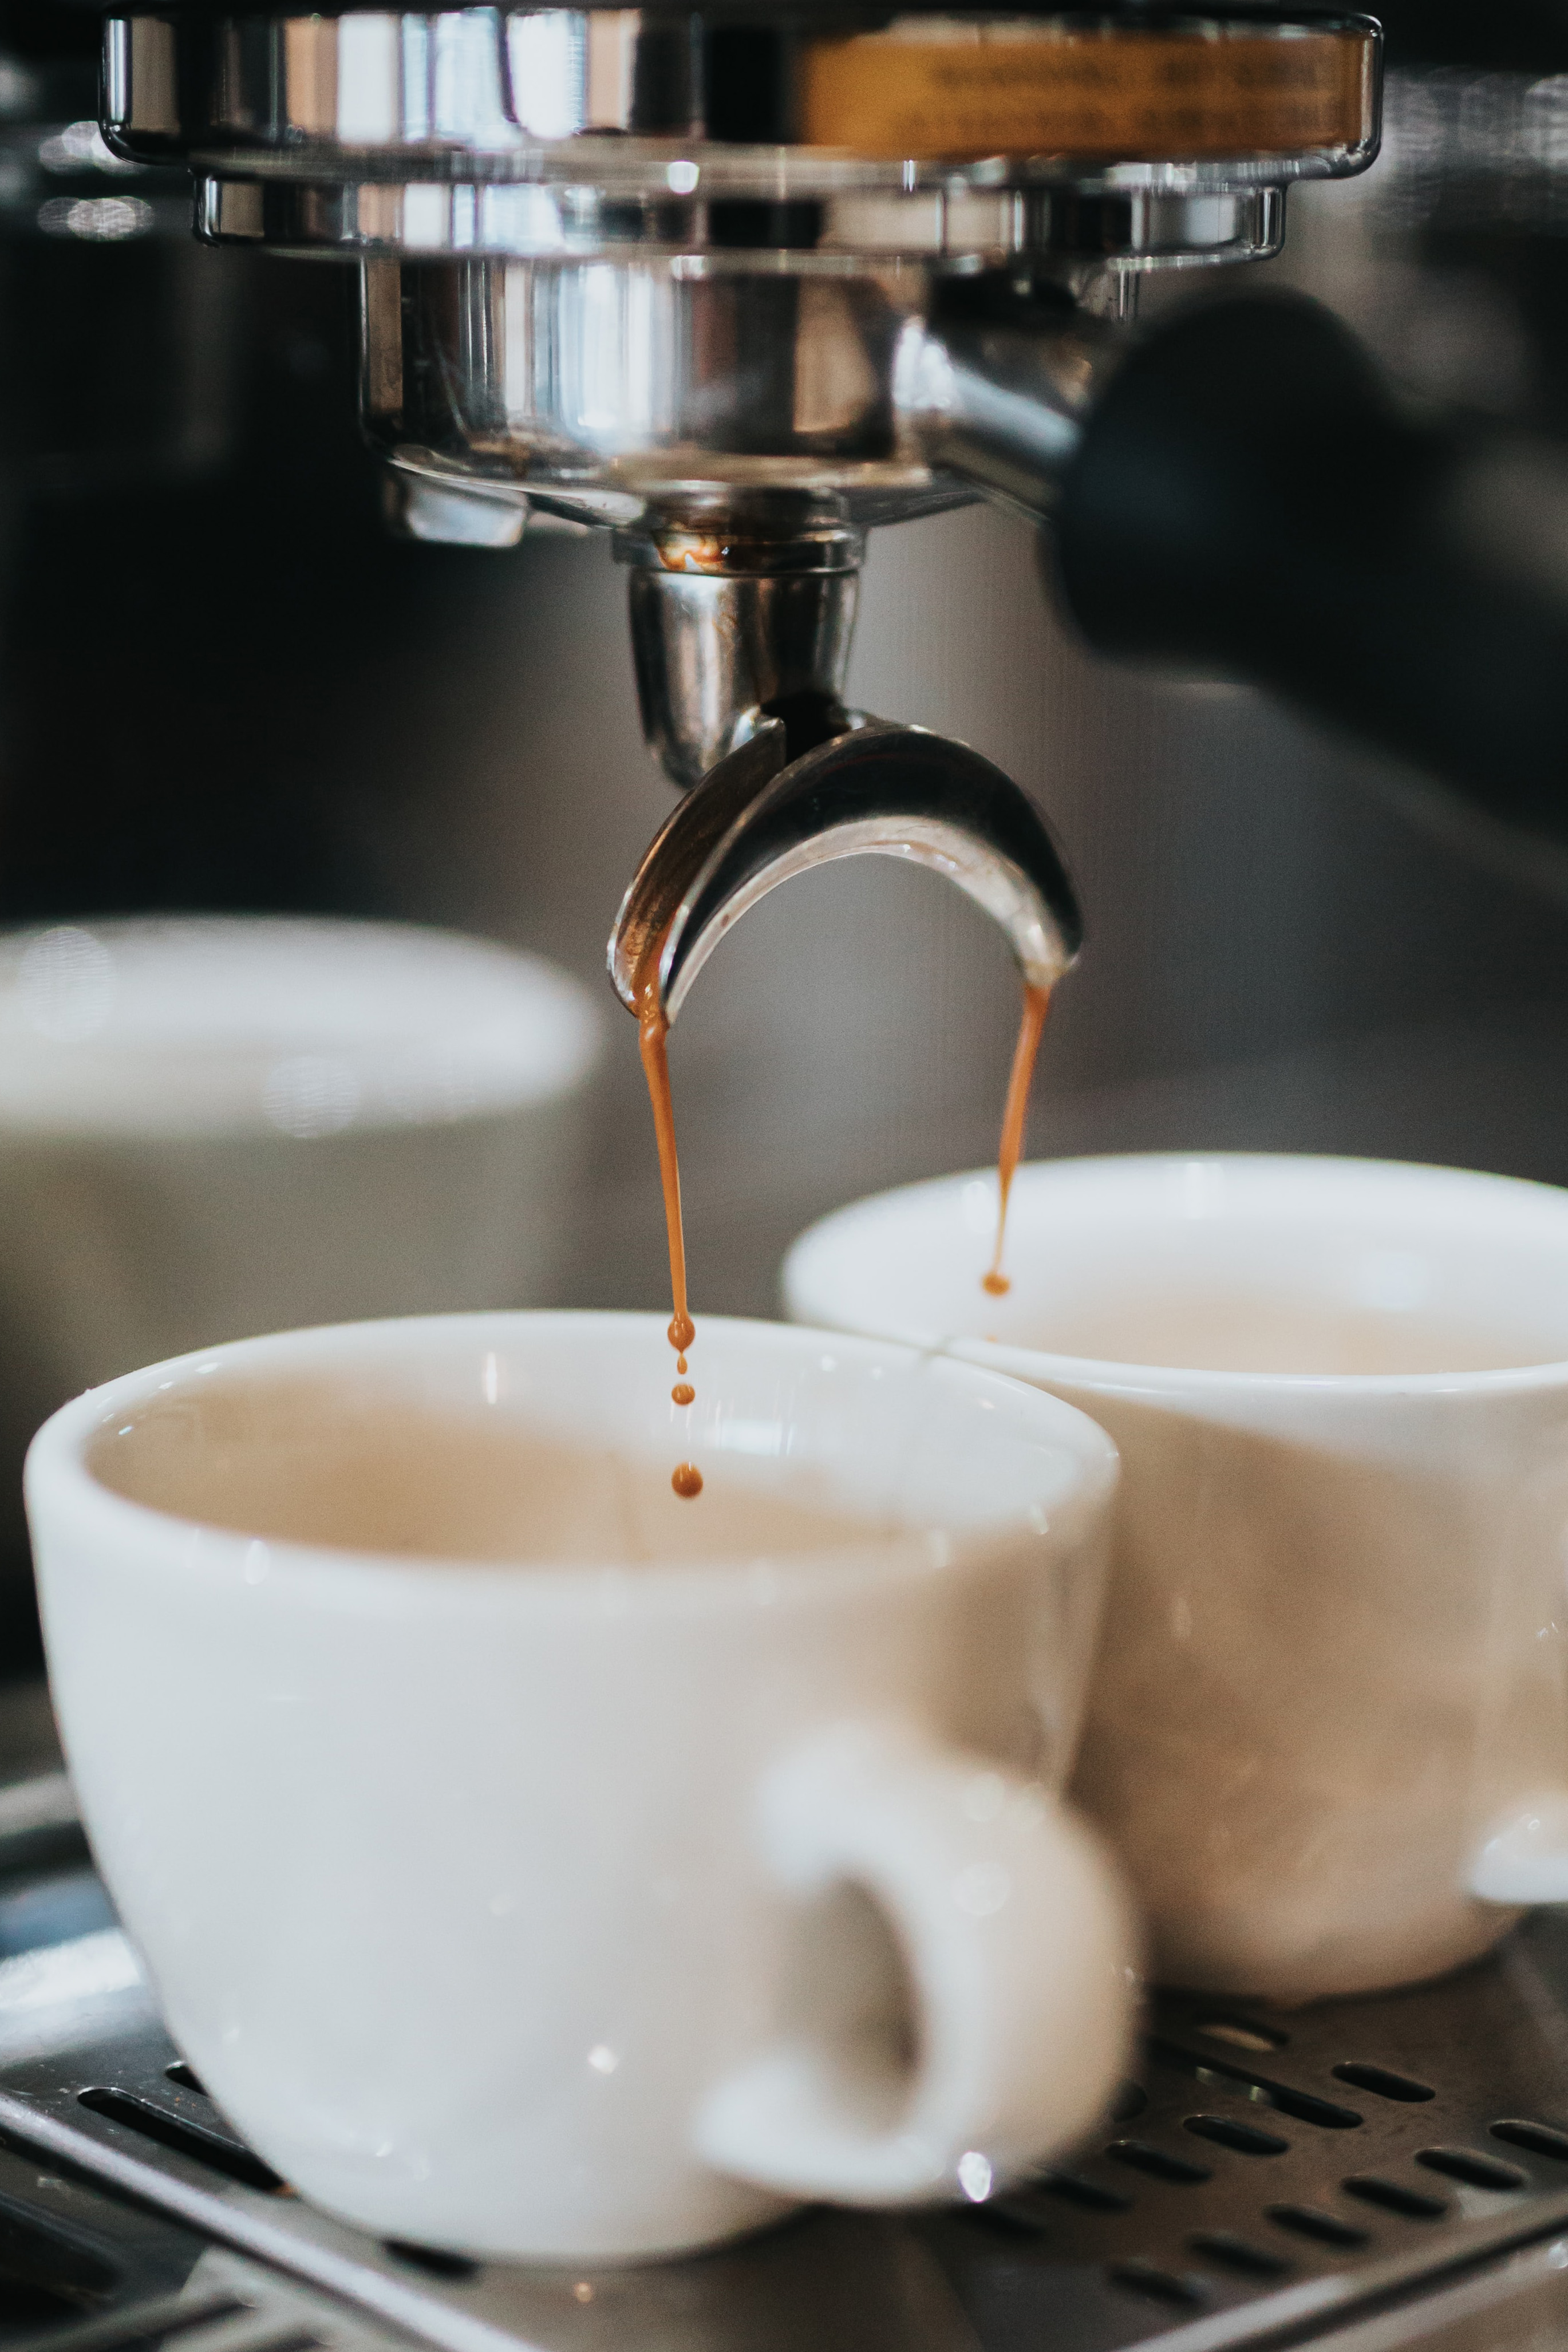
Your espresso will tell you if you are on the right track through a few visual clues, paying attention to these will help you know what changes you may need to make.
- Were the first drops thin and watery? Chances are the water is getting around the puck or through a channel, try again but be more gentle after you tamp and when you put the portafilter into the machine.
- When the shot starts does it look pale and flow quickly? If your shot gushes or comes out too fast you need to make your grind setting finer to slow the flow of water down.
- If it takes ages for the first drips to appear, and they remain drips throughout the shot then you need to make the grind coarser in order to speed up the water flow.
- Does the espresso pour out of one side of your portafilter (if using a split spout)? If so you may be tamping unevenly.
Taste your results.
When you are getting your head around brewing espresso some very basic taste principles can help you understand what you may need to do to improve your shots. We all taste sour, salty, bitter, sweet and savoury (or umami) and when we analyse how coffee tastes we need to refer to those basic sensory elements. The main sensations you will experience tasting coffee are, sweet, sour and bitter and they are the telltale signs you are on the right or wrong path.
We are all trying to achieve sweet yummy espresso, but to get there we often have to taste some shots that are not so sweet. Sour espresso is a sign that the coffee is under-extracted, meaning the water hasn't been able to take enough out of the coffee. This can be down to grinding too coarse or not allowing enough water to pass through the puck. Use a timer and time your shots, if your espresso tastes sour and the shop stopped in under 20 seconds then you need to grind finer. By grinding finer you are slowing the flow of water down and allowing it to have more contact time with the coffee, keep grinding finer until that sour flavour is gone. On the other side of this equation is bitterness, an unpleasant taste that often leaves your mouth dry. Bitterness is a result of pulling too much out of the coffee or over-extracting it. Either you are grinding too fine or your yield is too big. Grind coarser to allow the water to flow quicker and check your yield is where it should be using scales.
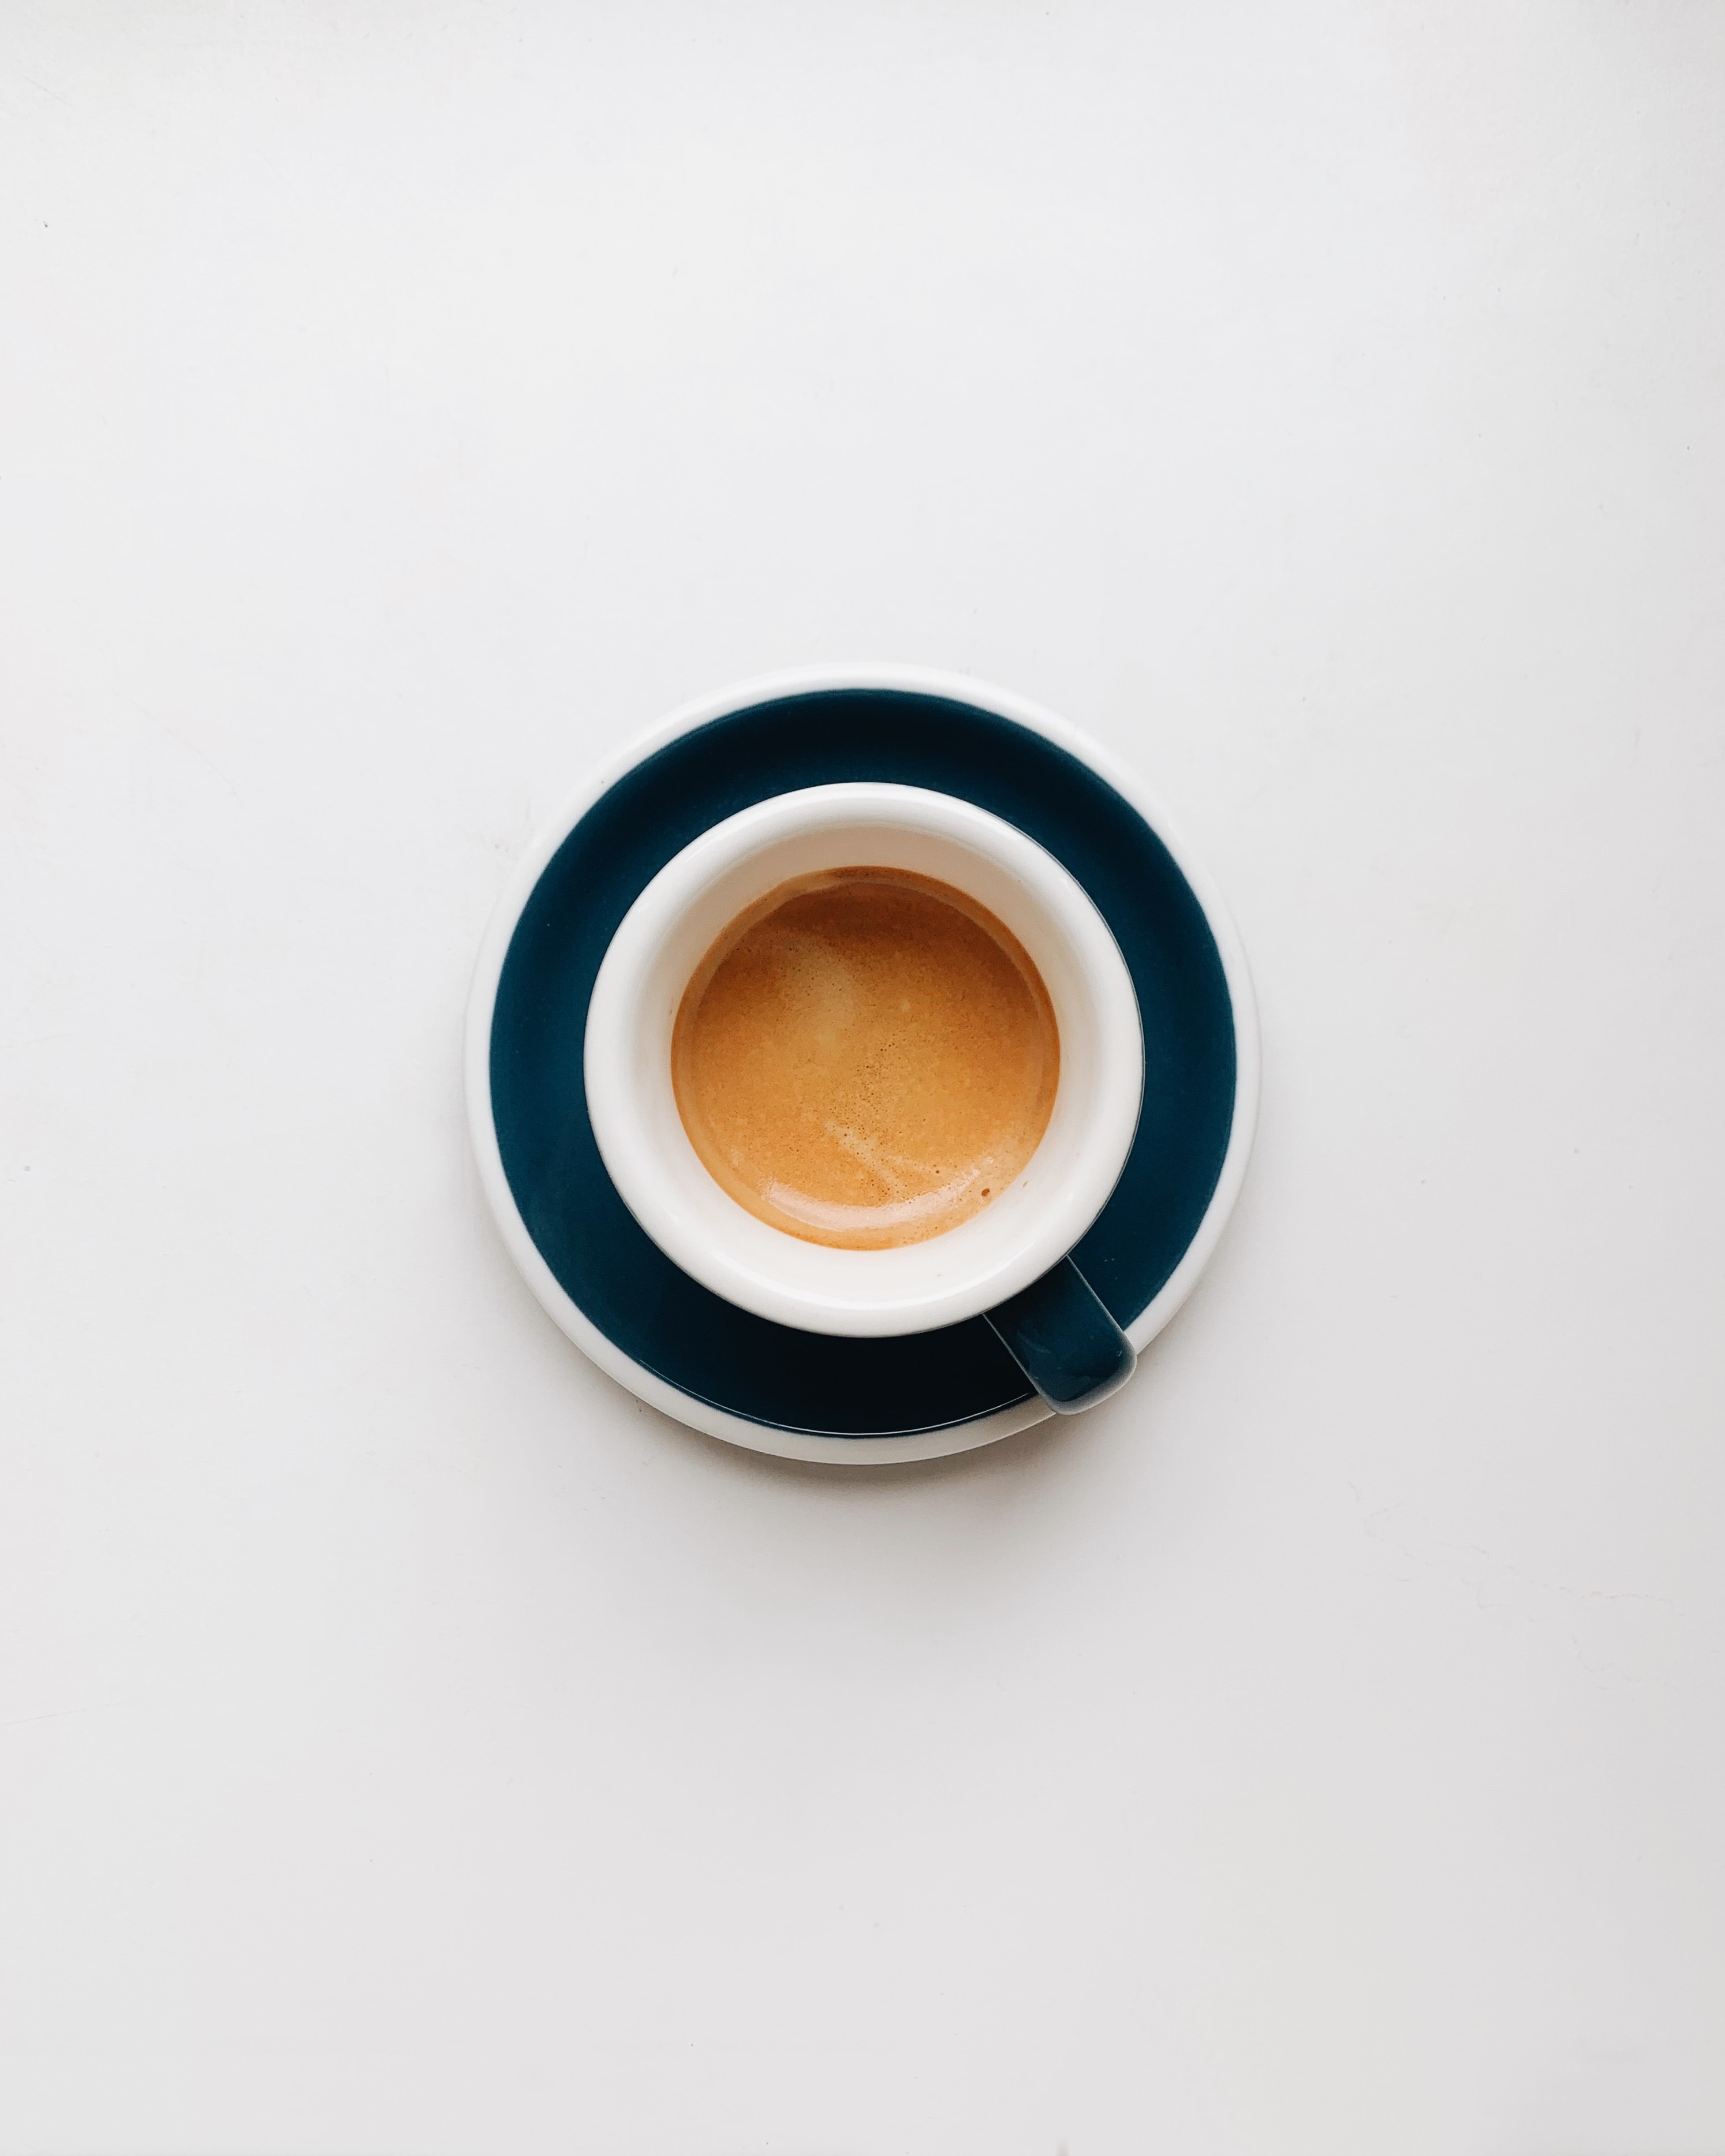
You will know when you are getting close as your espresso will start to taste more balanced, fuller and have a sweet roundness to it, and it will likely leave you wanting another one! Welcome to flavour country!
Clean machine, clean coffee.
The importance of keeping your equipment clean can not be understated. Keep a dry clean tea towel next to your machine, each time you empty your spent coffee puck wipe the basket dry. Make sure to purge a little water out of the head too before you put a fresh shot in, coffee oils build up on equipment and over time create a rancid taste, so it is important to keep your basket, portafilter and group head clean. Don’t leave old spent coffee pucks sitting in the basket, tap them out after the shot has finished, wipe the basket, and run a little hot water through the head and you are good to go for the next shot.
Use a brew guide.
What’s a brew guide you ask? Simply put a brew guide is a recipe that helps you achieve a tasty espresso without wasting too much coffee to get there. A brew guide will tell you how much coffee to use (dose) how much liquid to end up with (yield) and roughly how many seconds the shot should pour for (time).
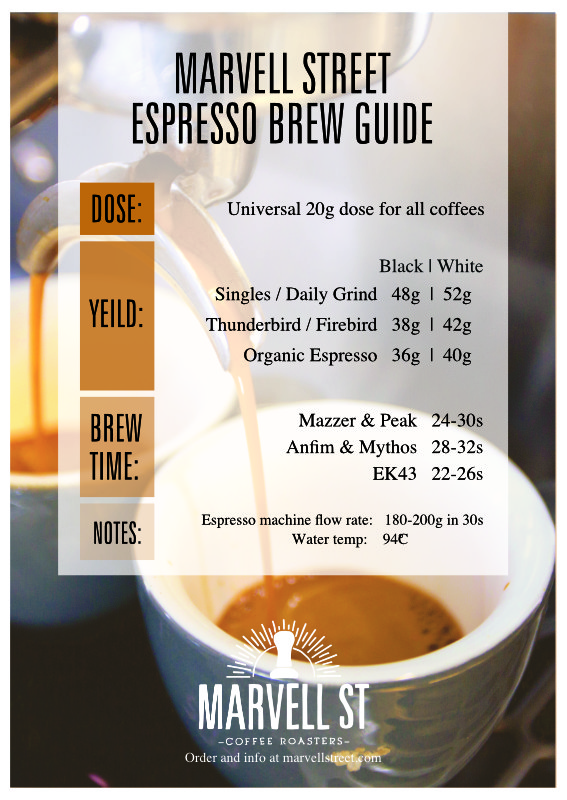
Knowing your dose, yield and time allows you to achieve repeatable tasty results, it also allows you to fine-tune your espresso as you have windows in which to work. Our brew guide uses a universal 20g dose but has slightly different yields for each blend, this is in direct relation to roast development and solubility. For example, our Organic Blend is our most developed roast, the longer development means you can pull shorter shots and still get good extraction, ie 20g dose, 36-40g yield. The resulting espresso is punchy, chocolatey and low acid, great for those who like textural espresso or milk in their coffee. Flip to the other end of the brew guide, our Daily Grind blend, and you have longer shots, 20g in 48-52g out, resulting in a much lighter, brighter, juicy espresso that is sweet and clean.
Brew guides save you time and money, they are the reason we can tell you all to Brew With Confidence!
A note on water.
Coffee is mostly made up of water, yet is often overlooked in the home espresso department. Coffee machines don’t like hard water and if your water has a high mineral content it can harm your machine. On the flip side if your water is too soft it can’t pull all the yummy flavours out of your coffee. So it’s all about balance, this article by BeanScene mag does a great job of showing you how the water is treated in different major cities. If you are lucky enough to live in Byron Bay or Sydney then, for the most part, the water is pretty ace for brewing coffee, however, if you live in Brisbane where the water is quite hard and you will need to look into filtering options.
Keep it simple and keep it clean.
At the end of the day making espresso at home should be about having fun not pulling your hair out wondering why your coffee doesn’t taste good. Keep a little log book, make one change at a time (grind, yield, dose), track your progress, experiment with your distribution, taste your failed espressos and revel in your god shots! We believe if you choose one of our high-quality blends or single origins, invest in a decent grinder, stick to the brew guide and keep your equipment nice and clean then your home espresso game will be killer. Please don’t hesitate to get in touch if you have any questions about selecting the right blend, or the brew guides, we are here to help!
As always Brew With Confidence!